
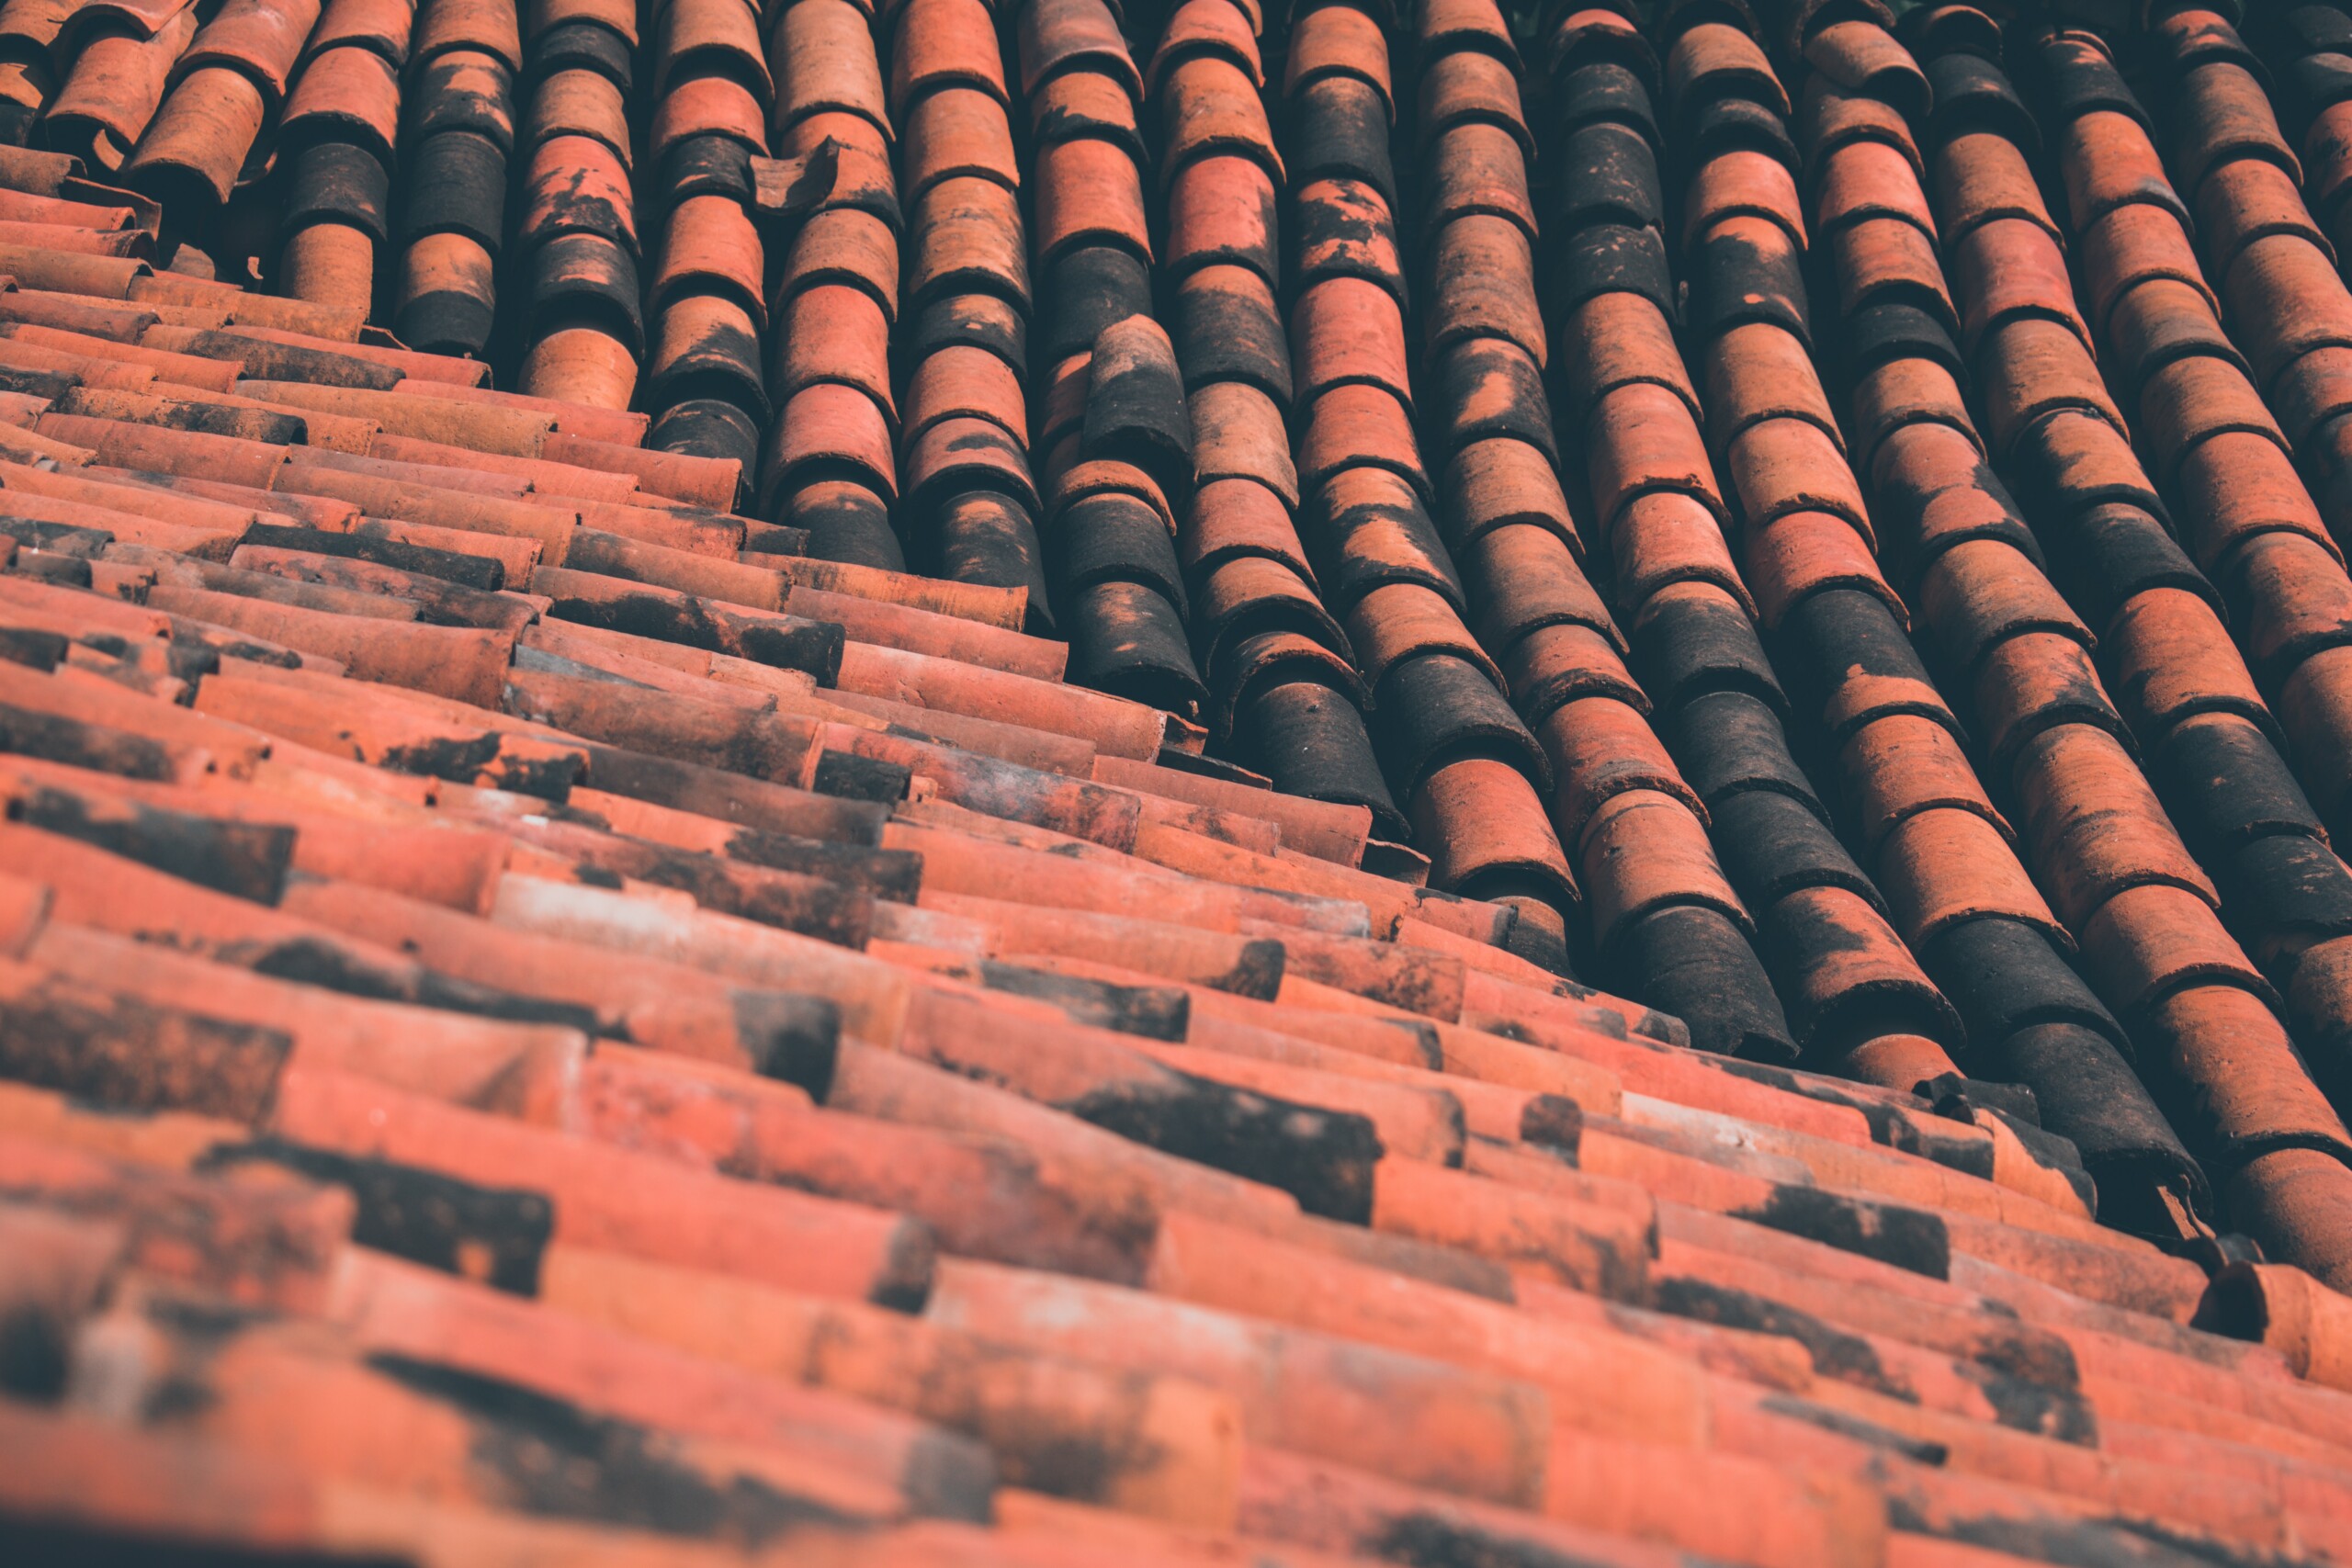
The roof above your head is designed to protect you and your family from outside elements – be it from inclement weather, natural disasters, or even potential smash-and-grabbers. While it can take a beating from harsh environmental conditions for years, all the constant abuse will soon cause the roof to wear and tear.
Once the roof starts to show its age and lose its strength, the chances of water seeping inside your home will be high. Once your roof starts to give in, leaving it unattended will pour more problems one on top of another and compromise the house’s structure.
This can be a plethora of mold contamination, rotted framing, sheathing, destroyed insulation, and overall damaged ceilings. To keep your home’s condition through the roof, check out the guide below to help maintain a leaking roof.
Step #1: Check the Area
The first step to fixing a leaky roof is to check for damages within the area. In most cases, typical households will experience leakage in their attic, so be sure to head up and give it a thorough look.
After that, you will need to clear the insulation from the wet ceiling and then dry off any signs of water. You can quickly do achieve this by placing a small piece of plywood throughout the joists of your roof. Finally, hook on a bucket on it to catch the water drippings.
Step #2: Locate the Leak
By placing the bucket, you can find the leak by following the position or root of where it enters your roof. It may be challenging to follow the path along the beams as water can slide from the base of the roof deck.
To that end, there’s a trick to finding leaks. Start by asking a friend to go up the roof with a garden hose. Next, soak the area where the hole appears above the house, which should help you isolate the field and track the leak down to its source in no time. You’ll know it’s the right spot when you see a discolored felt paper or rotted wood below and around the affected space in your roof.
Step #3: Measure the Leak’s Distance
Another way of fixing a leaky roof as accurate as possible is to measure the distance of the roof leaf from the ridge and the gable. This will allow you to track the leak once the weather calms down.
When the skies are clear and dry, measure the dimensions of your roof and strengthen the base of the shingles by adding tar to keep leaks in check. This is highly beneficial, as flashings and shingles tend to be the most vulnerable to leakage.
Step #4: Examine the Roof from the Inside
When inspecting the rafters and beams of your attic, professional roofing manufacturers suggest using a flashlight to help brighten up the room. This will enable you to check for soft spots, wet wood, water stains, or any dampness that redirects you to the origin of the leak. Once you locate the leak, mark the area by using chalk. Finally, add a wire through the affected area and out through your roof.
Step #5: Examine the Roof from Outside
By sticking out a wire through your ceiling from the inside, you can now easily find the source of the leak outside and on your roof. This enables you to observe the structure for any traces of broken shingles, loose nails, or any form of aging. To that end, locating the leak should help you prepare for the necessary repairs down the road.
The Bottom Line
Prevention is always better than a cure, and in this case, keeping a careful watch of the state of your roof should help you avoid severe damages and costly repairs. The steps above should protect your roof from further deterioration in the long run. Of course, hiring a professional is the better option for your waterproofing needs as it ensures quality and long-lasting results!
If you’re looking for a residential roofing service in San Diego to help replace your old roof, get in touch with us today for a free consultation.